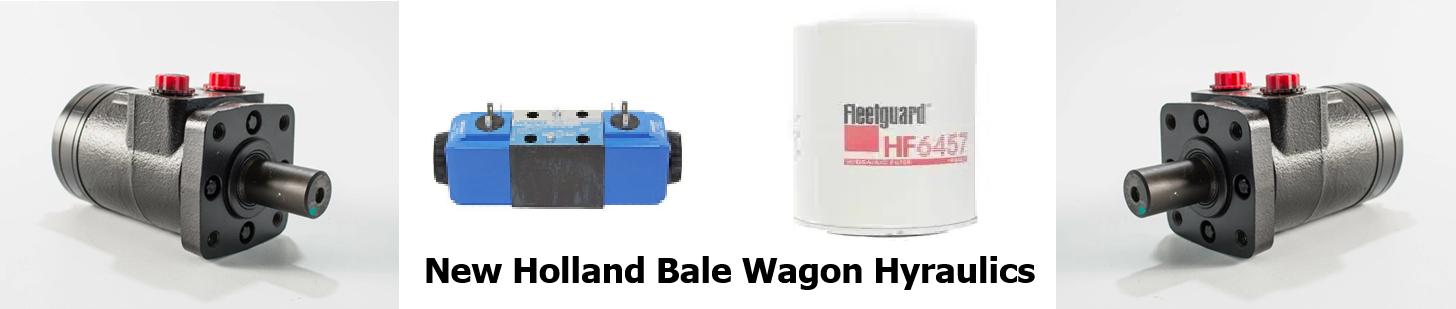
Here’s a practical fall-and-winter checklist for getting your New Holland bale wagon repaired before hay season. Use it as a shop inspection sheet: check an item only after it passes inspection or the repair is finished.
This is a general checklist—not a model-specific service schedule. New Holland bale wagons differ in hydraulic circuits, controls, and adjustments, so use your wagon’s operator/service manual for oil specifications, lubrication points, chain tension, timing, pressures, and torque values. Emerson Ag provides access to parts and technical-manual resources.
Machine information and repair priorities
Model: Serial number:
Hours, if equipped: Inspection date:
Known problems from last season:
Mark problems as:
- A — Must repair before operating: safety defects, damaged structural parts, unsafe tires, hydraulic damage, or unreliable controls.
- B — Complete over winter: wear, leaks, feeding trouble, and intermittent problems.
- C — Monitor: serviceable items to recheck during the season.
The inspection points below are a working repair-planning template; exact wear limits and repair procedures must come from your model’s manual. Preventive maintenance, lubrication, and adjustments should follow manufacturer recommendations.
1. Before starting any inspection
- Park empty on firm, level ground; set the brake and chock wheels as needed.
- Lower tables and load rack where possible.
- Shut off the engine, remove the key, and disengage the PTO, if equipped.
- Install the specified mechanical safety supports before working beneath raised tables or the load rack. Never trust hydraulic pressure alone.
- Relieve hydraulic pressure before opening a line or removing a component.
- Keep people clear of table travel, rack travel, and other pinch points.
New Holland’s service-manual safety guidance calls for level parking, secured controls, and lowered hydraulic equipment. Extension guidance also requires proper supports for raised equipment and warns that stored hydraulic energy can cause unexpected movement.
Never feel for a hydraulic leak with your hand; gloves will not stop an injection injury. Use an appropriate leak-detection method from a safe position. Suspected fluid injection requires immediate emergency medical care.
2. Fall: clean up and capture last season’s problems
- Remove loose hay, twine, dirt, and debris from pickup, conveyors, tables, frame, and driveline.
- Clean enough to expose cracks, loose fasteners, oil leaks, and rubbing hoses.
- Record feeding jams, missed trips, slow table movement, crooked stacks, and intermittent control problems.
- Photograph leaks and worn parts before disassembly.
- List needed parts by model and serial number.
- Complete lubrication due under the operator’s manual.
Use this stage to build the repair list rather than simply putting the wagon away; agricultural maintenance guidance recommends repairing equipment before it reaches the field.
3. Winter: mechanical inspection and repair list
Work through each section with the machine safely secured. Treat this as an inspection list—not an instruction to replace every part. Use the manual’s measurements and procedures to decide whether a component is serviceable.
| Assembly | Check off after inspection or repair |
|---|---|
| Pickup/bale loader | ☐ Bent, broken, or missing pickup components ☐ Bent guides or rubbing parts ☐ Loose mounts ☐ Shaft/bearing play ☐ Worn drive components |
| Conveyors and drives | ☐ Chains for wear, stiff links, and damaged connectors ☐ Sprockets for worn teeth ☐ Idlers/tensioners ☐ Alignment ☐ Guards and shields |
| First and second tables, as equipped | ☐ Bent surfaces or snag points ☐ Cracks at hinges and cylinder mounts ☐ Worn pins/bushings ☐ Missing retainers ☐ Binding movement |
| Trips and sequencing | ☐ Trip arms/linkages move freely ☐ Springs and stops intact ☐ Cables/linkages secure ☐ Adjustments checked against manual ☐ No bypassed safety devices |
| Load rack and stacking equipment | ☐ Frame and pivot areas ☐ Cylinder mounts ☐ Rack supports/stops ☐ Push-off equipment, if fitted ☐ Retainers and fasteners |
| Main frame and running gear | ☐ Cracks or distorted members ☐ Axle/spindle condition ☐ Loose hubs or noisy bearings ☐ Wheel hardware ☐ Tire cuts, cracking, and pressure |
| Hitch/PTO, if fitted | ☐ Hitch pin and retaining device ☐ Drawbar connection ☐ Safety chain, where specified ☐ PTO shaft, joints, guards, and retaining hardware |
| Controls and electrical | ☐ Damaged wiring or connectors ☐ Rodent damage ☐ Secure battery connections ☐ Lights/reflectors ☐ Switches, indicators, and interlocks |
Structural cracks, failed retainers, missing guards, and unreliable controls belong on the “repair before operation” list. Do not conceal a crack with paint or assume a weld repair is suitable without assessing the component and approved repair method.
4. Hydraulics: give this a separate inspection
- Inspect hoses for abrasion, cracking, blisters, kinks, exposed reinforcement, and wet fittings.
- Replace damaged hoses with correctly rated assemblies.
- Check hose routing and clamps through the full operating range without entering moving areas.
- Inspect cylinder rods for rust, pitting, scoring, or damage.
- Inspect cylinder mounts, pins, bushings, and retainers.
- Identify and repair leaks at cylinders, valves, lines, and couplers.
- Check fluid condition and level using the manual’s specified machine position.
- Replace filters and fluid when required by the service schedule.
- Record slow movement, jerking, drift, or unusual noise for diagnosis.
- Use model-specific testing procedures before changing relief settings or condemning a pump.
Extension guidance specifically recommends regular hose inspections, clean hydraulic oil, scheduled filter replacement, and rust protection on exposed cylinder rods. New Holland service information separates hydraulic troubleshooting by model group, so pressure settings should not be guessed.
5. Extra checks for a self-propelled wagon
If yours is pull-type, skip this section and inspect the towing tractor separately.
- Engine oil and filter service due.
- Air cleaner and intake system condition.
- Fuel filters, hoses, and leaks.
- Cooling-system leaks, hoses, belts, and freeze protection.
- Battery, charging system, and starting system.
- Steering play, steering leaks, and secure connections.
- Service brake and parking brake operation.
- Transmission/final-drive service due.
- Seat, seat belt, mirrors, visibility, and road lighting.
Follow the engine and wagon manuals for service intervals and specifications; recommendations for self-propelled machinery emphasize manufacturer-specified maintenance and tune-ups.
6. Winter storage finish-up
- Finish lubrication according to the manual.
- Protect exposed cylinder rods with an approved rust-preventive product.
- Store with tables/rack lowered or secured exactly as the manual requires.
- Make sure hydraulic openings are capped after repairs.
- Record completed repairs and remaining parts orders.
- Tag the machine clearly if it is not safe to operate.
Rust protection on cylinder rods and keeping contamination out of the hydraulic system are specifically recommended maintenance practices. Lowered or mechanically supported equipment reduces the risk from stored energy.
7. Before the first trip to the field
- Remove tools, loose parts, and maintenance materials.
- Reinstall all guards, retainers, and shields.
- Recheck fluid levels, tires, wheel hardware, and visible leaks.
- Verify brakes, steering, hitch, PTO, and lights as applicable.
- In a clear, level area, test functions using the operator’s manual procedure.
- Watch for hose interference, binding, abnormal noises, and incorrect sequencing.
- Shut down and secure the wagon before investigating a problem.
- After empty-machine checks pass, perform a controlled bale-handling test as directed by the manual.
- Reinspect after the initial test and close out the repair list.
Manufacturer-directed adjustments and lubrication should be completed before field operation, not improvised during the first load.
Repair log [download copy here]
| Priority | Location/problem | Repair or parts needed | Completed/date |
|---|---|---|---|
| _ | |||
| _ | |||
| _ | |||
| _ | |||
| _ |
We hope this preventative maintenance list and suggestions helps streamline your repairs and Emerson Ag will do its’ part in saving you money. Thank you
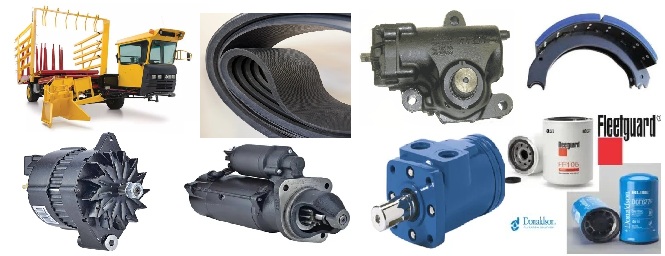
New Holland Bale Wagon and Stackcruiser parts is our specialty but you can also discover everything you need to maintain and repair your hay and forage equipment in our Parts Store.

Contact Emerson Ag
Please email [agparts@emersonag.com] or text [605 891 4966] us with any questions. We are CLOSED on Sundays. No phone calls or texts.
Please enter ALL orders online.
New account orders will only be accepted online.
Existing accounts may call in orders for emergency only. This reduces the margin for errors.
Copyright © 2012 Emerson Ag & Industrial